Hi,
This is a repost of my earlier thread with picture links that should actually work (not Google pics, that appears to have issues for some)
Having posted bits and pieces over the past year and a half, and now that my Promaster project has been road (and sleep) tested for a half dozen nights, I decided it might be a good time to bring it all together in one place.
A good starting point is my van, sitting at the dealer in VT. Found it online, worked the deal, drove to VT from CT and so the saga begins. Went to VT because I wanted a Graphite van, and CT dealers seemed to have ordered some in white, others in white, and the rest... in white! Purchased in August 2014.
![Image]()
It's a 159wb, high roof, gas engine, automatic 2014 Promaster.
In this thread, I plan to document some of the projects along the way as I continue to work on the project. Still a way to go.....
Hope this thread is useful to others who may view it for ideas, or as a reference on "one way to do it" or, for some, "what not to do!" If some of this looks familiar to old timers on the forum, it's probably because I may have posted some parts previously...sorry for the repeat, but figured it would be easier in the long run to have a single build thread.
Ed
This is a repost of my earlier thread with picture links that should actually work (not Google pics, that appears to have issues for some)
Having posted bits and pieces over the past year and a half, and now that my Promaster project has been road (and sleep) tested for a half dozen nights, I decided it might be a good time to bring it all together in one place.
A good starting point is my van, sitting at the dealer in VT. Found it online, worked the deal, drove to VT from CT and so the saga begins. Went to VT because I wanted a Graphite van, and CT dealers seemed to have ordered some in white, others in white, and the rest... in white! Purchased in August 2014.
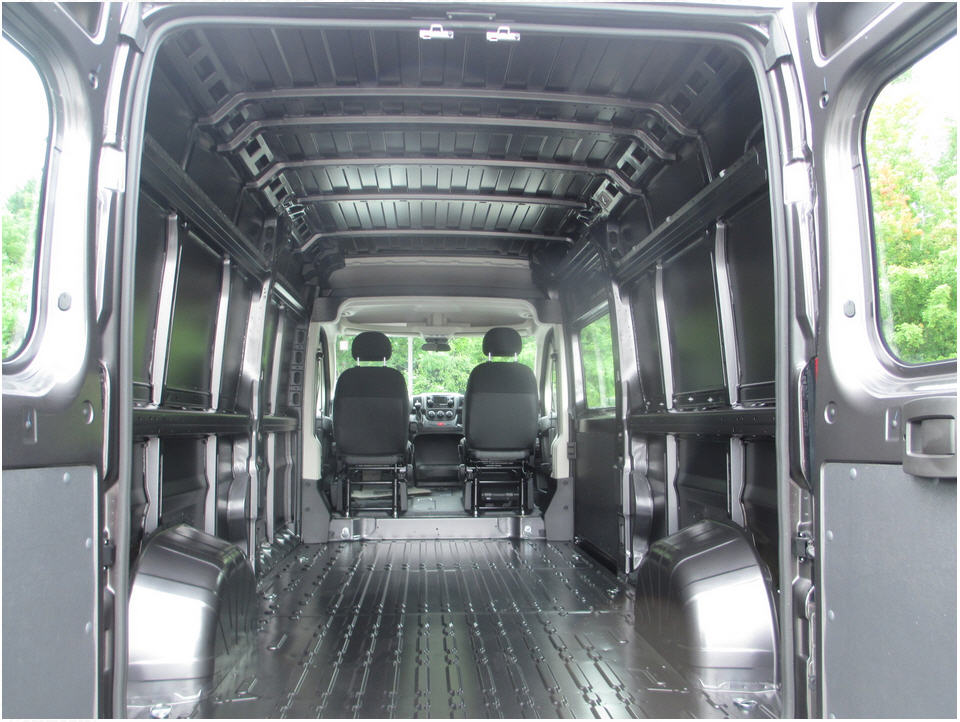
It's a 159wb, high roof, gas engine, automatic 2014 Promaster.
In this thread, I plan to document some of the projects along the way as I continue to work on the project. Still a way to go.....
Hope this thread is useful to others who may view it for ideas, or as a reference on "one way to do it" or, for some, "what not to do!" If some of this looks familiar to old timers on the forum, it's probably because I may have posted some parts previously...sorry for the repeat, but figured it would be easier in the long run to have a single build thread.
Ed